I firmly believe that food storage is just one aspect of being prepared for emergencies. And not the most important aspect. So I want to do a series on Emergency Preparedness. But I want it to be friendly to me, my family, and all of my readers.
True Story: Last February I made a 72 hour kit. The best and most complete I had ever made. Then in August I wanted to work on it some more, since I had learned a lot more about 72 hour kits during that 6-month time (like they should be 120 hour kits), and because some of the food needed to be rotated. I worked on my 120 hour kit a little bit during the last week of August. And..it's still not complete! I decided that I need a whole month to dedicate toward my 120 hour kit. Not just a few days.
I believe that some of my readers are this same way. (Not you of course!) People need time to work on something. The problem with a blog is that it has new information so quickly that it is impossible to keep up with everything. So each month in 2011 we will focus on a new emergency preparedness topic.
But I need your help! I don't profess to know everything, or to be able to build the "perfect" 120 hour kit. And I want this to be fun! So I need your input. Leave comments on each post introducing the topics. Email me pictures, questions, or comments about what you are doing and creating. The end of each month I will post pictures and stories from both my own ventures and yours on how we have become more prepared.
This will be fun! So invite your neighbors, friends, and family so that we can all "Be Prepared in 2011."
Topics
January: Evacuating Part 1 (Family Plan and 120 hour kits)
February: Evacuating Part 2 (Office and Car Kits)
March: Shelter-In-Place
April: Water Outage
May: Work Clothes and Tools
June: Emergency Cooking
July: First Aid
August: Prepare for Fire
September: Prepare for Earthquakes
October: Emergency Heating
November: Preparing for Financial Emergencies
December: Preparing for Other Natural Disasters
December 30, 2010
December 29, 2010
Red vs. White Wheat
When you go to buy hard wheat, you sometimes have a choice between red and white wheat. What does this mean, and what is the difference? A lot of people think there is a difference in nutritional value. This is not true. The only difference is that the gene(s) for color are taken out of the white wheat.
Wheat ground into flour looks like this:
You can see a slight difference in the color. (If I knew how to take better pictures, you would be able to tell a bigger difference.)
To test how the flours differ when cooking, I made my bread recipe using all white wheat flour in one batch, and all red wheat flour in a second batch.
To sum up the experiment, bread made with white wheat is lighter in color, and has a softer texture than bread made with red wheat. White wheat also rises a little higher. The bread made with red wheat was easier to slice. I typically make this same recipe using part red wheat and part white wheat with good results.
When I use wheat flour in every day recipes such as cookies, pizza dough, or pie crust, I like to use white wheat, because it is lighter in color and texture. It blends in with all-purpose flour better.
Coming Up: Gluten Free Cooking
 |
| red wheat (left) white wheat (right) |
Wheat ground into flour looks like this:
 | |
| red wheat (left), white wheat (right) |
To test how the flours differ when cooking, I made my bread recipe using all white wheat flour in one batch, and all red wheat flour in a second batch.
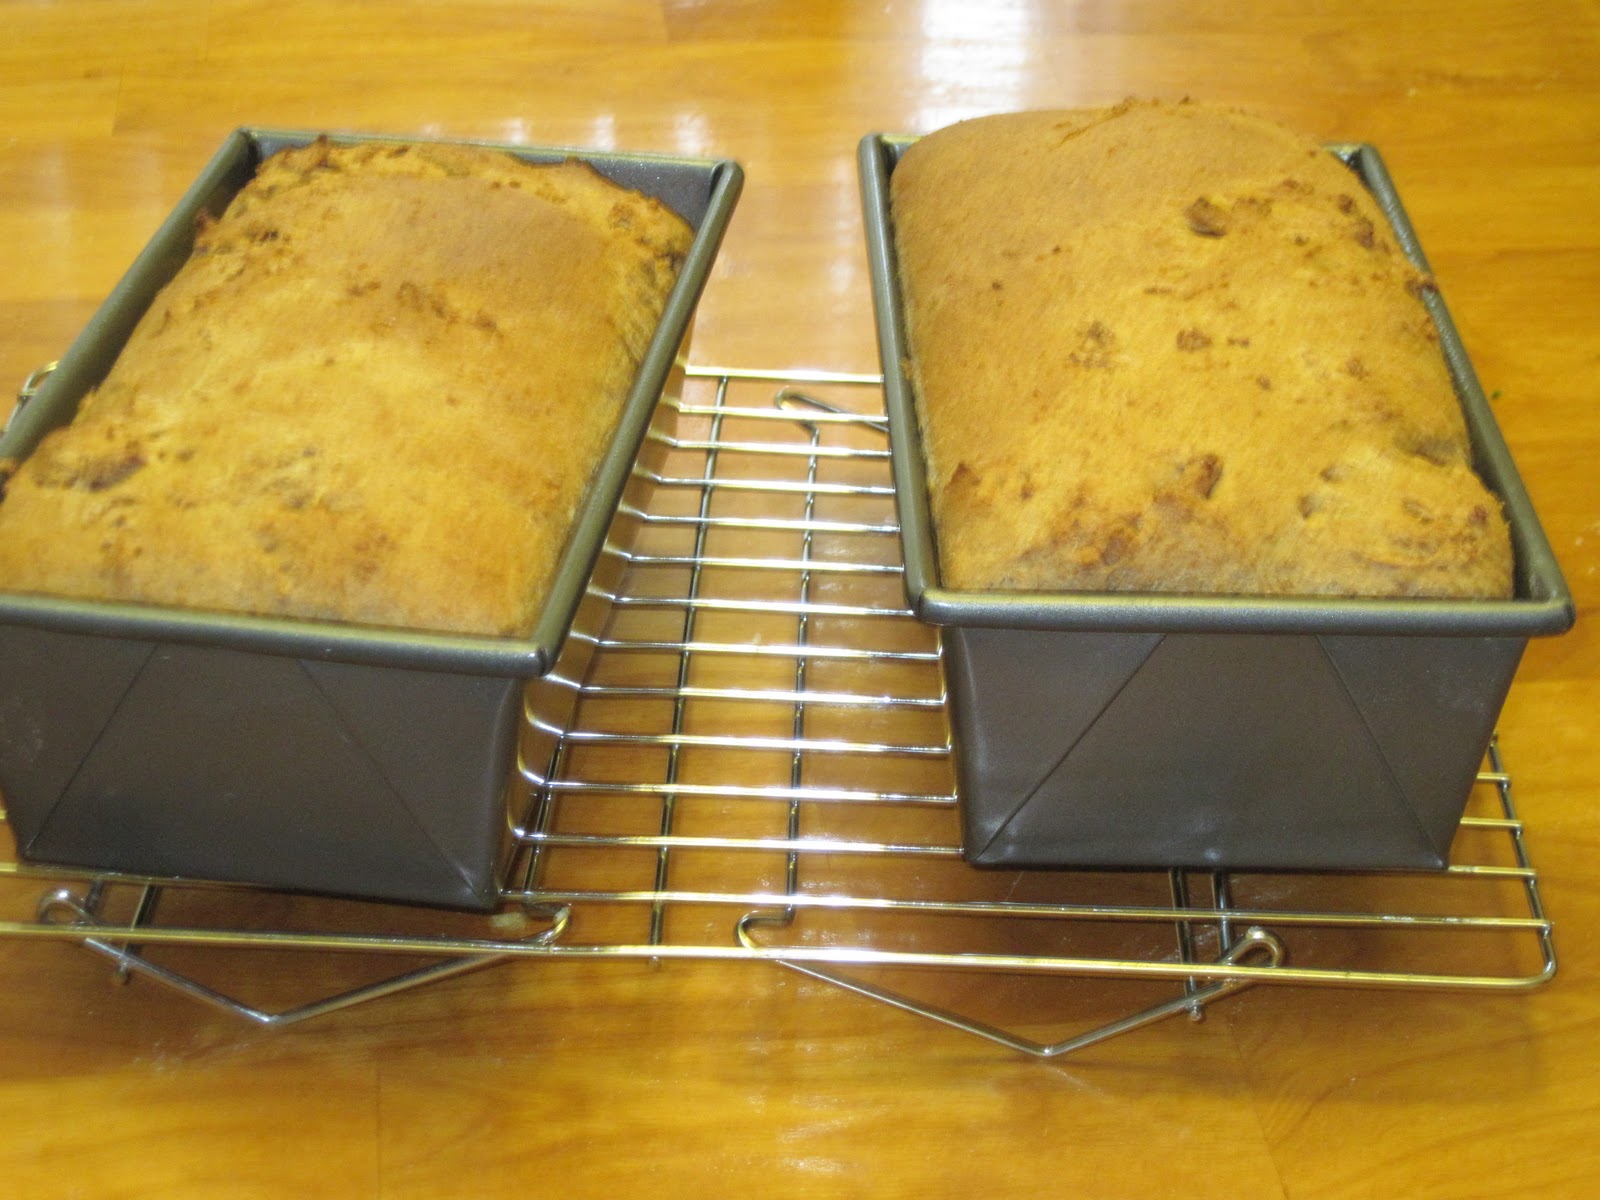 | ||
| Bread made with red wheat |
 | ||
| bread made with white wheat |
 | ||
| red wheat (left), white wheat (right) |
When I use wheat flour in every day recipes such as cookies, pizza dough, or pie crust, I like to use white wheat, because it is lighter in color and texture. It blends in with all-purpose flour better.
Coming Up: Gluten Free Cooking
December 23, 2010
Storing Wheat Flour
Sorry, I know I said that I would post about red and white wheat next, but I forgot to talk about storing your wheat flour. A lot of people say that you have to store it in the fridge. Sure, this may be true if your kitchen is 100°, or if you plan to store your flour for 3 years. However, under normal conditions, don't worry about putting it in your fridge. I store mine in an airtight container, and have never had any problems.

By the way, last week when I made pizza, I put used 1/2 cup wheat flour, with 3 1/2 cups white flour. My husband turned up his nose when I saw a slight difference in color in the dough. But then he admitted that he couldn't taste any difference. Success! Next time I'll try a whole cup of wheat!
December 18, 2010
Wheat Berries
So you want to use wheat, but don't have a wheat grinder. You can make wheat berries! It is very simple to cook wheat. Here are a few methods:
Fast Stove-top Method: Heat 2 1/2 cups water and 1 cup wheat to boiling. Reduce heat to low. Cover and simmer 50-60 minutes. Makes about 3 cups of wheat berries.
Slow Stove-top Method: Heat 3 cups water and 1 cup wheat to boiling. Reduce heat to low. Cover and simmer 1/2 hour. Turn off heat and allow wheat to stand, covered 8-12 hours. Drain off any remaining liquid.
Thermos Method: Place 1 cup wheat and 2 1/2 cups boiling water in quart-sized thermos. Screw the top on lightly and leave until morning.
Slow Cooker Method: Place 3 cups water and 1 cup wheat in slow cooker. Cook on HIGH for 2-3 hours. Turn off slow cooker and let sit overnight.
So now what do you do with this wheat? I will admit that I don't use wheat berries a whole lot. I have eaten it as a breakfast cereal, warm, with milk and brown sugar or honey. I have put wheat berries in my meat loaf. That's my extent of wheat berries.
From what I read, though, you can use them in most any recipe to stretch the meat or other grain. Some ideas: use in chili, stroganof, noodle or rice salads, or stuffing.
Most important part: Introduce wheat into your diet slowly. If you do not, you will have severe pain. I believe this is the most important reason to introduce wheat into your diet now in slow amounts.
How do you cook wheat berries? Does anyone cook them in a pressure cooker? How do you eat them?
Coming Up: Red vs. White Wheat
December 17, 2010
More Reasons to Buy in Bulk.
In my Beginning Food Storage post I give a lot of reasons to store food. I've mentioned that I buy wheat in bulk. What I haven't written about, though, is why it can benefit to buy in bulk. I found this article listing a lot of reasons to buy in bulk. It lists reasons like less trash and transportation costs. Good article.
December 13, 2010
Using Wheat Flour
Back to wheat! The most common way to use wheat is as flour. If you are not accustomed to eating much wheat flour, you should begin by using it in small amounts in recipes you already like. For example, if you have a pancake or cookie recipe you really like, and it calls for 2 cups of flour, substitute 1/4 cup of the flour with wheat flour. As you become accustomed to wheat flour in your recipes, you can add a little more wheat flour.
It's easy and nutritious!
Coming Up: Cooking wheat kernels into berries. This is how you can use wheat if you don't have a grinder!
It's easy and nutritious!
Coming Up: Cooking wheat kernels into berries. This is how you can use wheat if you don't have a grinder!
December 8, 2010
Houston Gingerbread
This is probably my favorite Christmas goody.
Houston Gingerbread

Printable Version
Houston Gingerbread

Printable Version
2 cups flour
1 Tbs unsweetened cocoa
2 tsp baking soda
2 tsp ground cinnamon
1 1/2 tsp ground ginger
1/4 tsp ground nutmeg
1 cup sugar
1/2 cup butter, softened
2 eggs, separated
1 cup molasses
1 cup buttermilk
Old Fashioned Lemon Sauce, if desired
Whipped cream, if desired
Preheat oven to 375°. Grease and flour bottom and sides of 13x9x2 inch baking pan. Combine flour, cocoa, soda, cinnamon, ginger, and nutmeg in a bowl. Set aside. Cream butter and sugar together until light and fluffy. Add egg yolks, one at a time, followed by molasses. Add about 1/2 cup flour mixture, and mix well. Beat in about 1/4 cup buttermilk. Repeat three times, alternating 1/2 cup of flour mixture with 1/4 cup of buttermilk, and beat well after each addition. In a separate bowl, beat egg whites with an electric beater until stiff enough to stand in unwavering peaks when the beater is lifted from the bowl. With a rubber spatula, scoop the egg whites over the batter and fold them the eggs into the batter gently but thoroughly. Pour the batter into the prepared pan. Bake for about 25 minutes, or until a toothpick inserted in the center of the gingerbread comes out clean. Remove the gingerbread from the oven and let cool completely before cutting and serving. Serve with Old Fashioned Lemon Sauce and whipped cream.
Old Fashioned Lemon Sauce
1 cup sugar
1 egg, well beaten
3 Tbs lemon juice
1/2 cup butter
3/4 tsp grated lemon peel
Combine all ingredients in medium sauce pan. Heat to boil over medium heat, stirring constantly. Serve warm.
December 6, 2010
Coupon Event at Smith's
There is a coupon event going on at Smith's through tomorrow. All coupons valued at less than $1 will be rounded up to $1. So, if you coupon is for $.30, you'll get $1 off!
Check out GrocerySmarts to find out what you can get for free. Even if you don't get the newspaper, you can print off coupons to get several items for free or cheap.
Check out GrocerySmarts to find out what you can get for free. Even if you don't get the newspaper, you can print off coupons to get several items for free or cheap.
Mexican Bridal Cakes
Here's another one of my mother in-law's recipes. (I have to make my husband's favorite recipes, you know.) They're a little scary to make the first time. The dough will be crumbly. That's okay. You will have to work with the dough to make balls. That's okay. Just relax. They'll be good.

Mexican Bridal Cakes
Printable version
1 cup butter, softened
3/4 cup sugar
1 tsp vanilla
2 cups flour
1 cup pecans, very finely chopped (a food processor works well for this)
dash salt
2 cups powdered sugar
Mix all ingredients, except powdered sugar, together until mixed well and crumbly. Make tiny balls (about the size of a large marble) and place on ungreased cookie sheet. Bake in a preheated oven at 325° for 20 minutes, or until the bottoms of the cookies are light brown. Pour powdered sugar in gallon-size Ziploc bag, set aside. Transfer cooked cookies on cooling rack. When cookies are almost cool, place in bag with powdered sugar, a few at a time. Shake to cover cookies in powdered sugar.
December 3, 2010
Date Balls
'Tis the season for making lots of treats. So I'm going to post a few of my favorites over the next couple of weeks.
My mother-in-law makes these date balls every Christmas, and I just love them.

Date Balls
Printable Version
My mother-in-law makes these date balls every Christmas, and I just love them.

Date Balls
Printable Version
1/2 cup melted butter (cooled)
1 beaten egg
1/2 cup sugar
1/2 pound chopped dates (1 3/8 cup)
1 tsp vanilla
2 cups rice krispies
1/2 cup finely chopped pecans
grated coconut
Mix butter, egg, and sugar together in a small bowl. Pour into frying pan, along with dates, and heat for 10 minutes, stirring constantly. Remove from heat. Add vanilla, rice krispies, and nuts. Roll into small balls, with buttered hands, then roll in coconut.
December 2, 2010
Wheat Grinders
The most common way to use wheat is as flour. But in order to do so you need a wheat grinder. Wheat grinders are a little pricey but worth it. It is a lot more expensive to buy wheat flour than to buy wheat and grind it yourself, so the investment pays for itself quickly. And of course you want to use wheat flour, because it is a lot healthier than white flour. (More coming on that soon.)
I have two wheat grinders: a manual grinder, and an electric. I don't use the manual one very often, because it takes a long time, and manual labor, to grind the wheat. But I have it in case of emergencies. They cost less than $100, most around $60. I have seen them on sale for around $40.

I love my electric grinder, when I use it correctly. I have a Blendtec K-Tec Wheat Grinder. I bought it several years ago because a friend recommended it to me. She had one, and her mom had one that she used for 15 years before she had to get a new one. The other reason I chose this grinder is because of the price. I bought it for less than $200. Most electric wheat grinders cost closer to $300.
I made the comment that I love my grinder when I use it correctly. The reason I say that, is because I have not used it correctly two or three times, and I have had wheat flying around. One time I did not put the lid on all the way, and so the wheat was flying out instead of into the holding container.
Since buying this grinder, I have found this video, and this video that I would recommend watching if you would like more information on this wheat grinder.
Coming Up: Using wheat flour in your recipes.
I have two wheat grinders: a manual grinder, and an electric. I don't use the manual one very often, because it takes a long time, and manual labor, to grind the wheat. But I have it in case of emergencies. They cost less than $100, most around $60. I have seen them on sale for around $40.
I love my electric grinder, when I use it correctly. I have a Blendtec K-Tec Wheat Grinder. I bought it several years ago because a friend recommended it to me. She had one, and her mom had one that she used for 15 years before she had to get a new one. The other reason I chose this grinder is because of the price. I bought it for less than $200. Most electric wheat grinders cost closer to $300.
I made the comment that I love my grinder when I use it correctly. The reason I say that, is because I have not used it correctly two or three times, and I have had wheat flying around. One time I did not put the lid on all the way, and so the wheat was flying out instead of into the holding container.
Since buying this grinder, I have found this video, and this video that I would recommend watching if you would like more information on this wheat grinder.
Coming Up: Using wheat flour in your recipes.
Subscribe to:
Comments (Atom)